practical guide
What resolution should I actually scan family prints and slides at for a client archive?
Resolution choices decide whether an archive can be reprinted in ten years. Here is how dpi relates to original size, why slides need far more than prints, and where the practical ceiling sits.
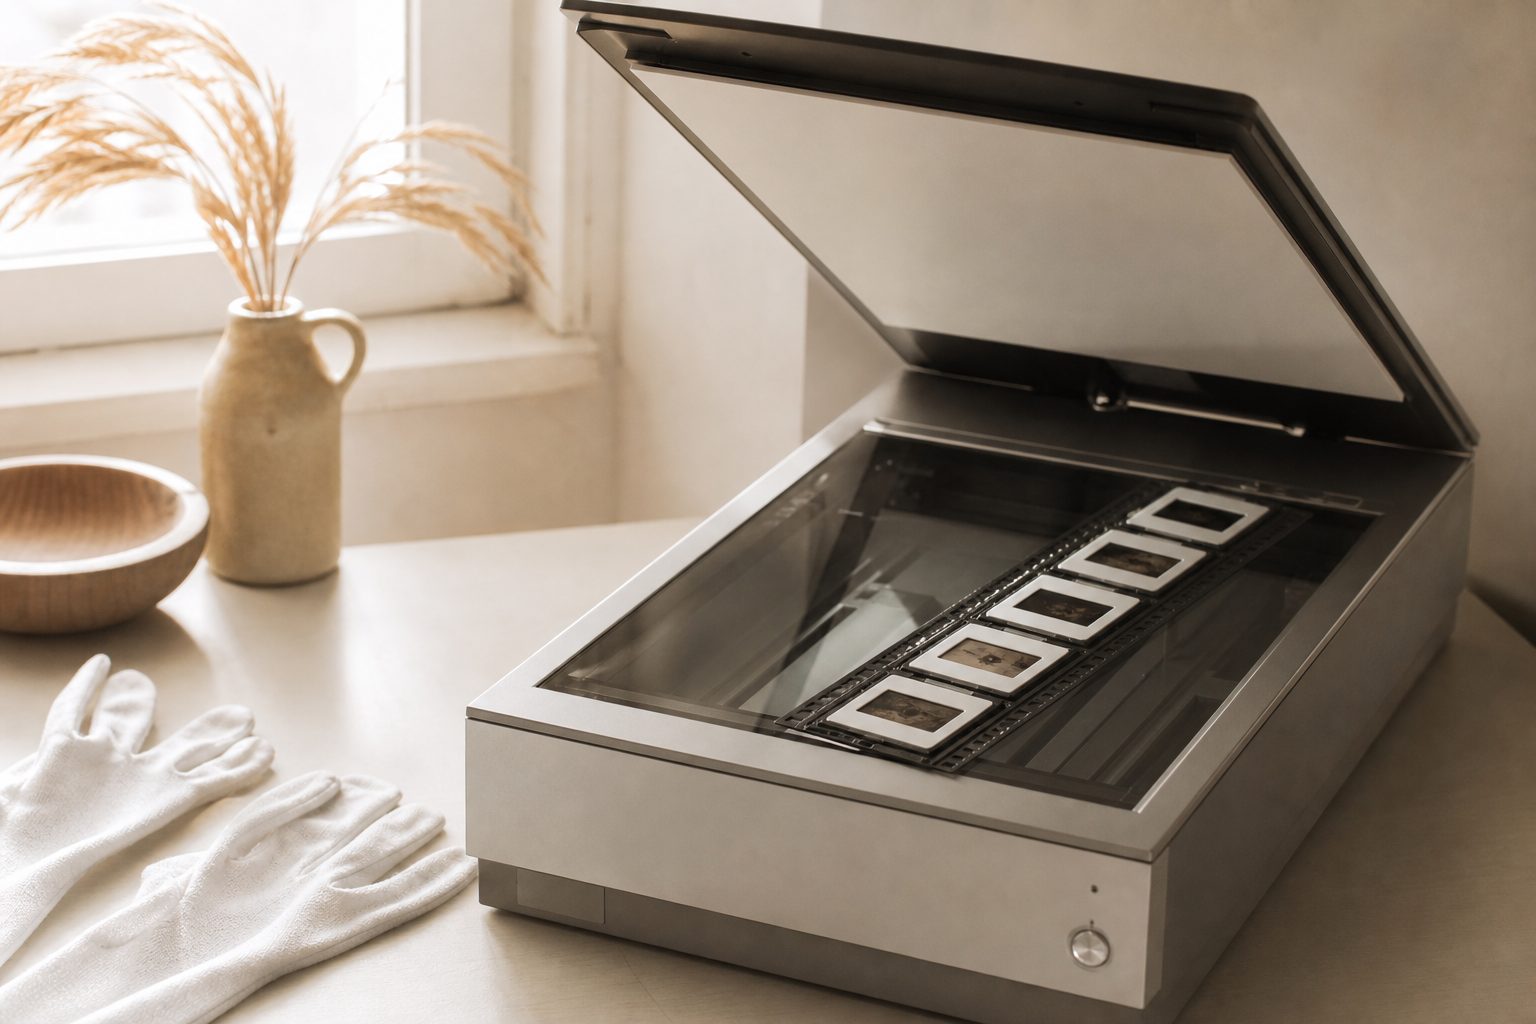
For ordinary snapshot prints, 600 dpi is the sensible working standard for a client archive, and 300 dpi is the floor you should think of as access quality rather than archival. For 35mm slides and negatives, you need something in the region of 3000 to 4000 dpi, because the original is roughly an inch wide and every bit of detail has to come from that tiny frame.
The reason those two numbers look so far apart is that dpi is not a quality setting. It is a sampling rate applied to a physical dimension. A number that is generous on a 5x7 print is starvation on a slide, because the slide has to be enlarged many times more to reach the same finished size.
Once you understand that relationship, most resolution arguments stop being arguments. You are not picking a number you like. You are working backward from how large the image may need to be printed years from now, on originals you will never have access to again.
How dpi, original size, and final pixel dimensions relate
The arithmetic is simple and worth doing out loud with a client who is pushing back on cost.
Pixel dimensions equal original dimensions in inches multiplied by dpi. A 4x6 print at 600 dpi gives 2400 by 3600 pixels. Divide those pixels by 300, the customary figure for good photographic printing, and you get an 8 by 12 inch print. So a 600 dpi capture of a snapshot supports roughly a doubling in each direction with quality intact.
Run the same math at 300 dpi and the 4x6 becomes 1200 by 1800 pixels, which prints back at exactly 4x6 and nothing larger. That is the whole case for 600 in one line: it is the difference between an archive that can be reprinted bigger and one that can only be reprinted the same.
Now do a 35mm slide. The image area is about 0.94 by 1.4 inches. At 600 dpi that is roughly 564 by 840 pixels, which is a thumbnail. At 4000 dpi it is about 3,760 by 5,600 pixels, which prints at 300 dpi to roughly 12 by 18 inches. Same math, wildly different requirement, because the input is tiny.
Keep reading: Flatbed, photo feeder or camera copy stand: which capture setup fits my studio workload?
The working standard for standard size prints and why
Six hundred is not a magic number. It is the point where three things line up at once for typical snapshot material.
- It captures essentially everything the print holds. Consumer lab prints from the 1970s through the 1990s are not carrying detail past that point; you start sampling paper texture and the halftone character of the emulsion rather than picture information.
- It gives generous reprint headroom, as the arithmetic above shows.
- It keeps throughput and storage in a range a working studio can sustain across thousands of images.
Go higher than 600 on prints when the original genuinely holds more. A sharp studio portrait on quality stock, a fine grained black and white print, a small original that a family wants enlarged: those earn 1200. A stack of drugstore 4x6 prints does not.
What about very small prints
Old contact prints and wallet sizes are the exception that proves the rule. A 2.5 inch square print at 600 dpi is only 1500 pixels across, which is thin if anyone wants it framed. Treat small originals like film: work backward from target output size rather than applying the house default. A useful habit is to set a minimum finished pixel dimension, say 3000 pixels on the long edge, and raise dpi on small items until you clear it.
Slides, negatives, and why film needs thousands of dpi
Film is not a print. It is the original capture medium, and it holds far more information than any print made from it. That is why family slide carousels are often the most valuable material in a whole collection and why they justify the slowest, most expensive capture in your workflow.
Practical guidance for common formats, worked from the same pixels equals inches times dpi relationship:
| Original | Approx image area | Reasonable capture dpi | Roughly what you get |
|---|---|---|---|
| 35mm slide or negative | 0.94 x 1.4 in | 3000 to 4000 | About 2,800 to 5,600 px on the long edge |
| 126 square format | 1.06 x 1.06 in | 3000 to 4000 | About 3,200 to 4,200 px square |
| 110 cartridge | 0.51 x 0.67 in | 4000 and up | Still modest; the format is inherently limited |
| Medium format 6x6 | 2.2 x 2.2 in | 1600 to 2400 | Very large files, enormous detail |
Note the pattern in the last two rows. The smaller the original, the higher the dpi has to climb just to reach a usable pixel count, and there is a point where the film itself runs out of detail before your scanner does. On 110 negatives you hit grain and softness quickly, so pushing past 4000 mostly enlarges the grain.
Keep reading: What does a photo organizing contract need to say about loss, damage and the client's originals?
Optical resolution versus interpolated numbers on a spec sheet
This is where consumer hardware marketing does the most damage to client expectations. A scanner sold with a headline resolution figure often quotes an interpolated number, which is software inventing pixels between real samples. It adds file size and no information.
The figure that matters is optical resolution, sometimes stated as the sensor and stepper capability. Look for it explicitly, and treat any number the manufacturer will not label as optical with suspicion. A device advertising very high numbers with a much lower optical figure is telling you its true ceiling in the fine print.
There is a second gap worth knowing about: effective resolution, meaning what the optics actually resolve, is usually somewhat below the stated optical number on flatbeds. Which is one reason capturing 35mm on a general purpose flatbed rarely matches a dedicated film path, even when the spec sheet says the number is available.
The practical rule: never set capture dpi above the device's optical resolution. You gain nothing and you multiply storage and processing time for every image in the project.
Bit depth, color profiles, and why sRGB is not the archive master
Resolution gets all the attention, but bit depth and color space quietly decide how much repair is possible later.
Capture at 16 bits per channel where your workflow supports it, particularly for film and for faded or color shifted prints. Extra bit depth is headroom for correction: when you pull a heavy magenta cast out of a 1970s print, an 8 bit file can band and posterize in the sky, and a 16 bit file usually will not. If storage or software forces 8 bit, accept it for clean modern prints and reserve 16 bit for the material that needs rescuing.
On color space, sRGB is a delivery space. It is deliberately small so that it looks correct on ordinary screens. That smallness is a feature for sharing and a defect for archiving, because saturated colors that fall outside it are clipped at capture and cannot be recovered.
The sane arrangement is to capture and store masters in a wider space such as Adobe RGB or ProPhoto RGB, with the profile embedded in the file, then convert to sRGB when producing the copies the family will actually view. Embedded profiles matter more than the choice itself: an untagged file is a guess waiting to happen.
See how PaperKeepsake handles this for memory keeping and photo organizing services
TIFF masters plus JPEG access copies as a delivery structure
Two tiers solves nearly every tension in this decision. The master is uncompressed or losslessly compressed TIFF at full capture resolution and bit depth, and it is the thing that never gets edited in place. The access copy is a JPEG, converted to sRGB, sized for viewing and sharing.
Deliver both, and explain the difference in one sentence the client will repeat correctly: the TIFFs are the negatives, the JPEGs are the prints.
Storage estimate, so you can price it. An uncompressed 8 bit RGB TIFF is roughly pixels wide times pixels tall times 3 bytes. A 4x6 at 600 dpi is 2400 by 3600, which is 8.64 million pixels, times 3 is about 26 MB. At 16 bit it doubles to about 52 MB. Multiply by 5,000 images and you are looking at roughly 130 GB of 8 bit masters for a single mid size project, before film. That number should be in your pricing and in your backup plan.
A useful practice is to name the tiers in the proposal: master set, access set, and a share set at a smaller pixel dimension for the family index. Three sizes, three purposes, no ambiguity about which file someone is looking at.
When higher settings stop buying you anything but storage
There is a real ceiling, and it is set by the original, not the scanner. Signs you have passed it:
- Zooming in reveals paper fiber, emulsion grain, or halftone pattern rather than more picture.
- Doubling dpi doubles file size and does not change what a client can see in a print.
- Capture time per image rises enough to change the project economics without changing the deliverable.
The discipline is to set defaults by material class, not by project, then override deliberately. Snapshot prints at 600. Small or exceptional prints at 1200. 35mm film at 3000 to 4000. Medium format lower, because the original is bigger. Anything unusual gets a decision and a note in the record explaining why.
Making the settings part of the record
Resolution decisions only protect a family if someone can find out later what was done. Ten years on, the question is never what dpi did you use in general; it is what happened to this particular carousel.
PaperKeepsake handles that by organizing work into client archive projects with scanning batches, so a batch carries its own capture settings alongside the images, and date and person tagging attaches the human context that no dpi setting can recover. When the family opens the shareable index and asks whether Grandma's slides can be printed poster size, the answer is in the record, not in your memory.